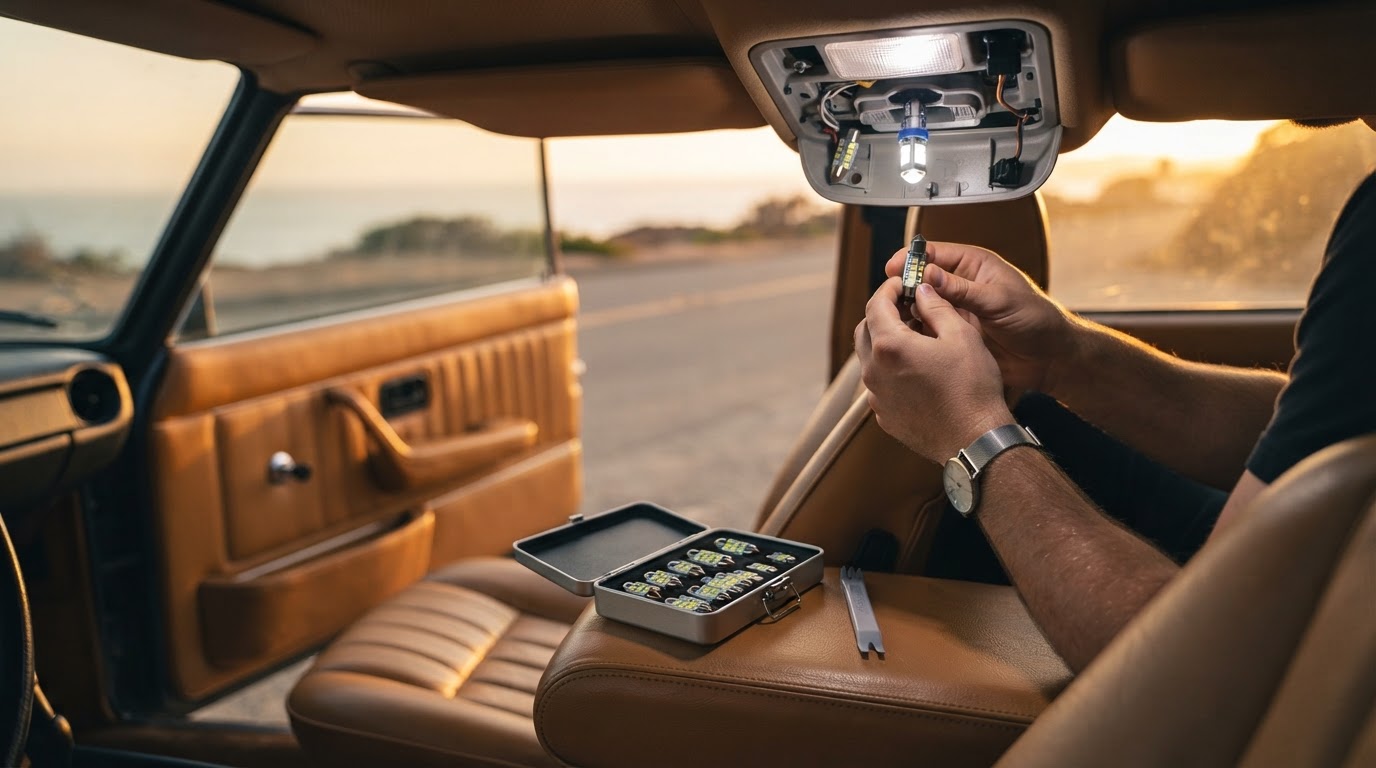
The Complete Guide to Changing Interior Car Lights: Upgrading Your Cabin Lighting
Replacing factory interior car lights with crisp, bright bulbs is one of the quickest and most impactful upgrades you can make to your vehicle. Whether you want better visibility while reading maps at night or simply prefer a stylish cabin ambience, learning how to change interior car lights is a straightforward DIY project that requires minimal tools.
Why Upgrade Your Interior Car Lights?
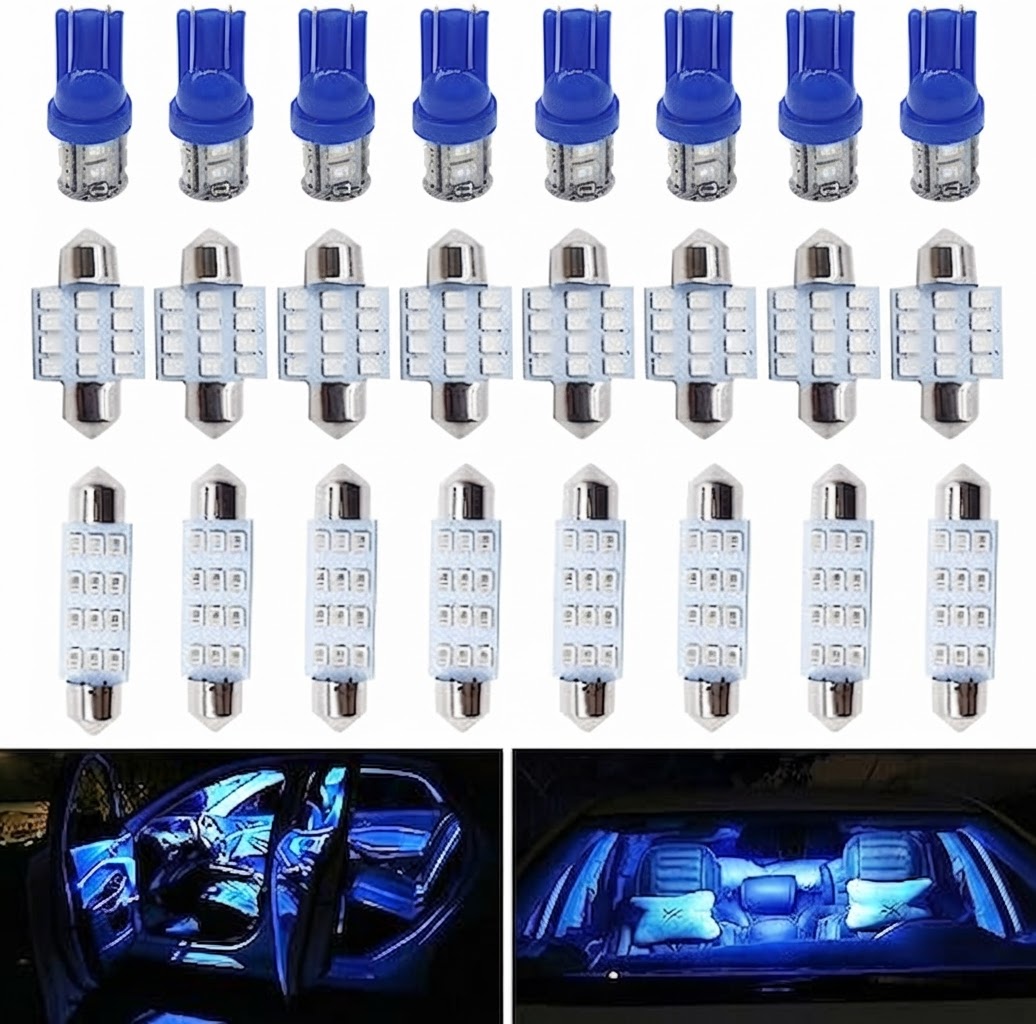
Standard halogen interior bulbs often emit a dim, yellow glow that makes searching for items inside your cabin difficult after dark. Upgrading to modern bulbs enhances contrast, improves nighttime visibility, and significantly reduces energy consumption on your car's electrical system. Furthermore, modern LED replacements boast an estimated lifespan of 50,000 hours hours, meaning you will rarely need to change them again during your ownership of the vehicle.
Essential Tools and Safety Precautions Before Starting
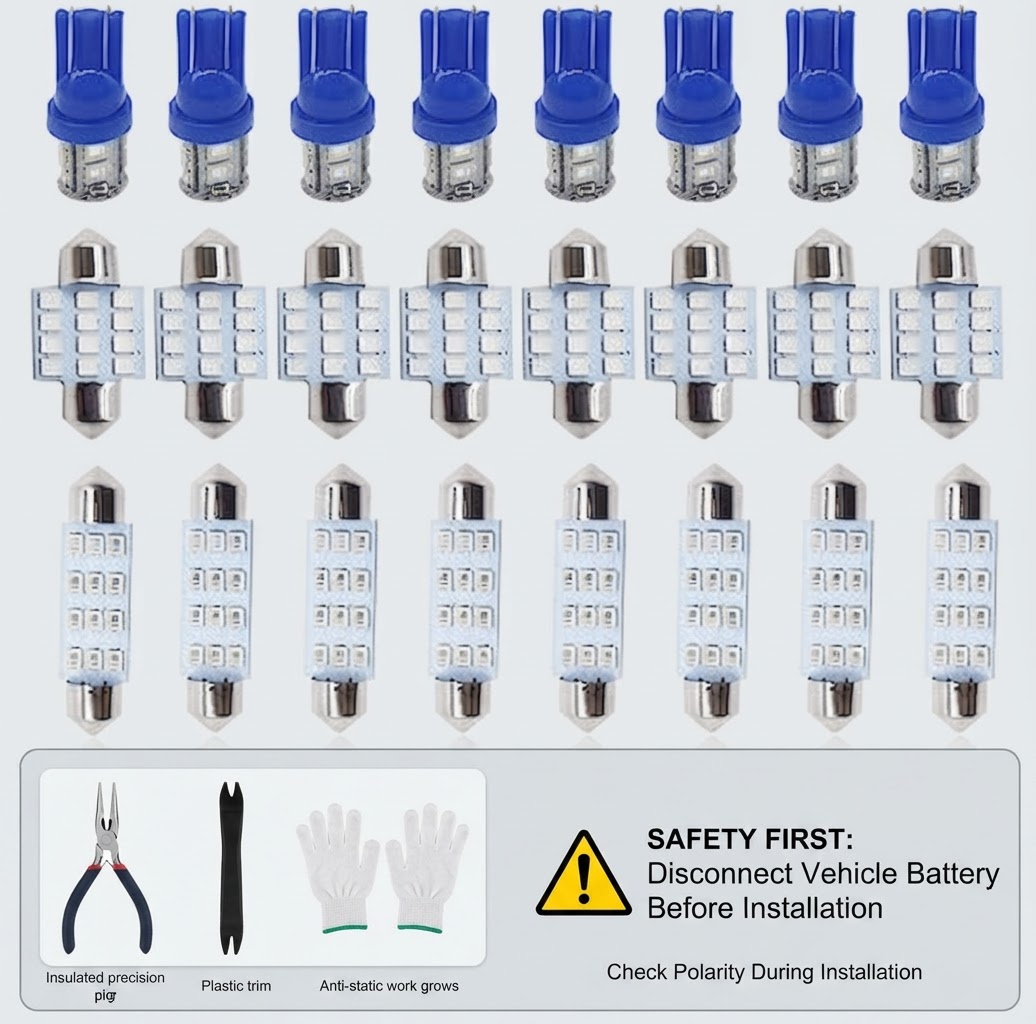
Before beginning any vehicle lighting installation, preparation is key. Always ensure your vehicle ignition is turned off and the key is removed from the ignition. Wait approximately ten minutes for existing halogen bulbs to cool down, as they can reach high temperatures during operation.
To swap bulbs safely, gather the following tools:
- A plastic trim removal tool (or flathead screwdriver wrapped in tape to protect plastic covers)
- Clean microfiber gloves to avoid leaving skin oil on new glass bulbs
- Replacement bulb set
Understanding Bulb Types: Festoon vs T10
Vehicle interior lighting utilizes distinct bulb shapes depending on the fixture function:- T10 Wedge Bulbs: Frequently used in map lights, door courtesy lights, glove boxes, and license plate housing.
- Festoon Bulbs: Cylindrical bulbs with metal end caps available in standard lengths like 31 mm or 42 mm, primary used in overhead dome lights and trunk compartments.
Step-by-Step Guide to Replacing Interior Cabin Bulbs
How to Prevent Electrical Short Circuits During Installation
Working with electrical systems always carries a small risk of blowing a fuse. To keep your vehicle circuit safe, never insert metal screwdrivers directly into the bulb socket contacts. If you encounter a short, verify the blown fuse inside your vehicle panel and replace it with a fuse rated for estimated fuse amperage rating amps as specified in your manual.Choosing the Right Upgrade: Spotlight on Rideluminate
When you are ready to complete your cabin transformation, choose a reliable supplier that offers versatile lighting packages. Rideluminate provides Wide Selection and Competitive Pricing to make upgrading seamless. PRODUCT_DESCRIPTION makes light replacement straightforward across multiple fixtures. Backed by Fast Shipping and Millions of Items, getting your cabin looking its best has never been easier.
Related in this cluster
- Halogen vs Blue LED Interior Car Lights: Key Differences Explained
- How to Replace Dome Light Bulbs in 5 Easy Steps
- T10 vs Festoon LED Bulbs: Differences & Vehicle Fitment Guide
- Rideluminate 24-Piece Blue LED Kit: Complete Product Breakdown
- Interior Car Light Replacement FAQs: Installation & Troubleshooting
- 5 Reasons to Upgrade Your Cabin Lights with an LED Bulb Kit