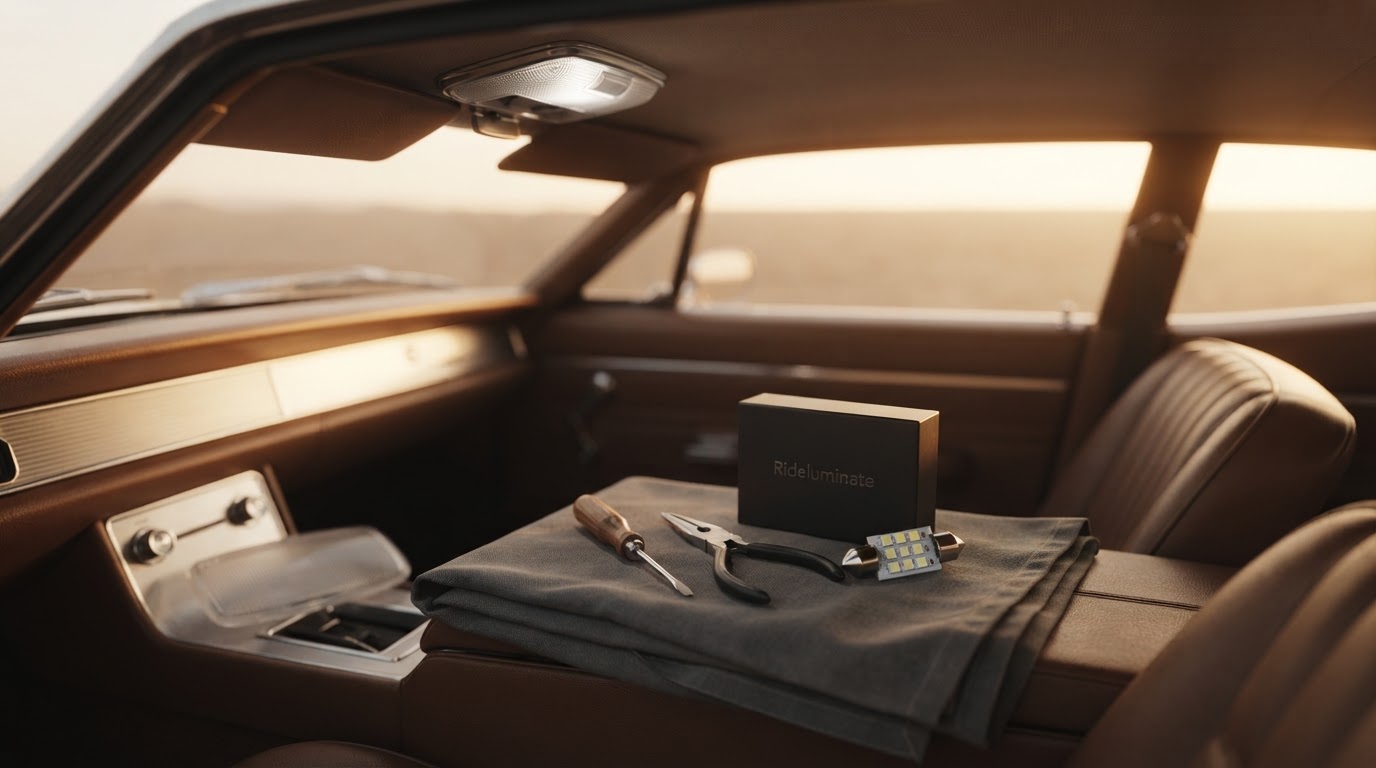
How to Replace Dome Light Bulbs in 5 Easy Steps
Replacing a dim or burnt-out dome light bulb is one of the easiest DIY vehicle maintenance tasks. If you want full instructions covering every fixture in your car, explore the main guide.
Step 1: Turn off power and prepare tools
Park your vehicle in a safe area, switch off the ignition, and make sure the dome light switch is set to the OFF position. Grab a non-marring plastic trim removal tool to prevent scuffing your roof liner trim.
Step 2: Safely remove the dome light lens cover
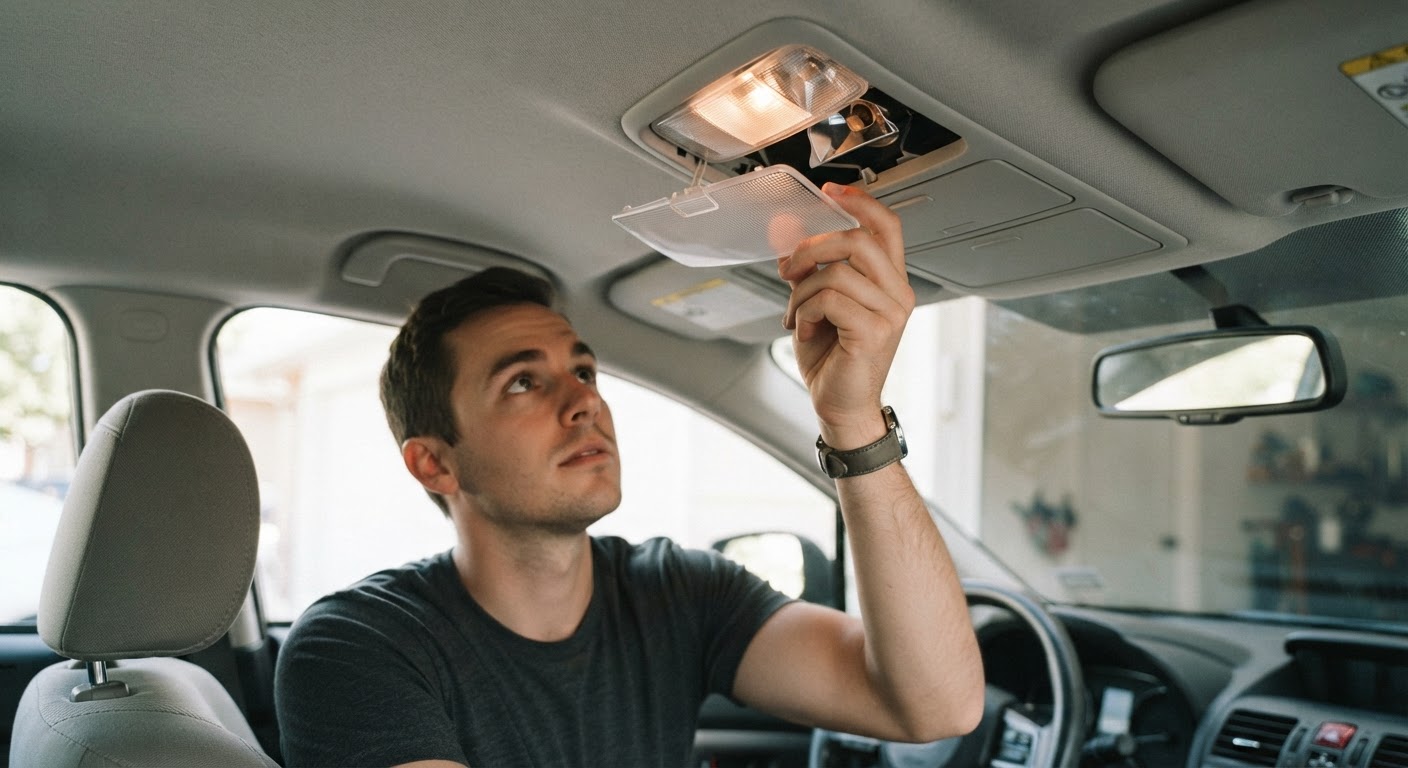
Locate the small release notches along the edges of the clear plastic lens cover. Gently slide your trim tool into a notch and apply slight leverage until the retaining tab releases. Work your way around the edges until the cover pops free.
Step 3: Remove the old bulb and verify socket dimensions
If the existing bulb was recently on, wait 1-2 minutes minutes for it to cool down completely. Carefully grasp the bulb and unclip or slide it out. Festoon bulbs sit between metal contact arms, while wedge bulbs pull straight out from the socket.Step 4: Install the new bulb and check polarity
Insert your new replacement light firmly into place. Switch your cabin light ON to test functionality. If an LED replacement bulb fails to light up, switch the power OFF, remove the bulb, flip it 180 degrees to reverse the polarity, and re-test.Step 5: Snap the lens cover back into position
Align the retaining tabs of your clear plastic housing cover with the slots in the roof console. Press upward firmly until all tabs click back into place. For replacement sets, Rideluminate offers Wide Selection and Competitive Pricing with Fast Shipping.Read the full guide: The Complete Guide to Changing Interior Car Lights: Upgrading Your Cabin Lighting
cluster-generatorclustertofu